|
Creating New Invoices
The first thing that needs to be done is to click the Add button located in the bottom left of the form. Doing this will clear any information that is already on the form and prepare it for the entry of new information. The user is now ready to enter in all the necessary information. Please follow the steps below to do this.
Make sure to have the packing slip available so that the information can be verified.
Header Section
Select the Sales Order, and corresponding Shipment number that the invoice is being made against by choosing it from the drop-down menu under the field name Sales Order No.
Enter in the shipping date from the packing slip in the fields labeled Invoice Date, and Billing Date.
NOTE: Invoice will use historical rate at the time it was on the invoice date.
Main Body Section
All this information was populated automatically when the Sales Order was chosen in the header section. Look at the information and ensure that it is correct, making any changes if necessary.
Item Details Section
All this information was populated automatically when the necessary Sales Order was chosen in the header field. Simply scroll through the information and ensure that it is correct.
Ensure that the grand total value is correct. If not determine the reason why and make any adjustments before continuing.
Once the above steps have been concluded, the Invoice can be saved into the system by simply pressing the Save button in the bottom left corner of the Form. At this time the Invoice will be saved and a Invoice number will be assigned to it that displays in the top left corner of the form. After this has been done the Invoice then needs to be approved. To do this, simply click on the [Yes] button found at the far right of the header section.
If the invoice was created directly from a sales order (not from a shipping document) and the invoiced sales order details are completely invoiced (sales order status has been updated to Invoiced), the sales order details will be locked, preventing the invoiced sales order details from being edited.
The next step is to batch the Invoice over to your accounting system. For more information see Day End Processing.
Editing An Existing Invoice
Once an invoice has been approved it is not possible to edit it as all the fields have been locked out. However it is possible to un-approve an invoice to allow changes to be made to it. Speak to your system Administrator for more information.
After an invoice has been un-approved, simply choose it from the drop-down menu in the upper left hand corner of the Invoice form and then make any changes necessary.
Remember to click the Save button in the bottom left corner after making any changes to an Invoice or the information will not save into the database.
Deleting An Existing Invoice
An invoice should not be deleted unless absolutely necessary. This is due to the fact that deleting the Invoice may cause any information related to that invoice to also be deleted inadvertently. Although this may not be the case, it is always better to try and fix an invoice through editing, rather than delete it.
Adding and Editing Freight Charges
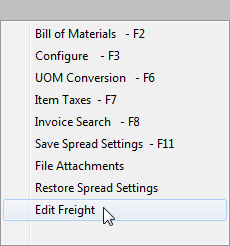
Freight charges can be added to invoices by right clicking in the details section of the invoice module and selecting Edit Freight.
The Freight Editor will be loaded as shown below:
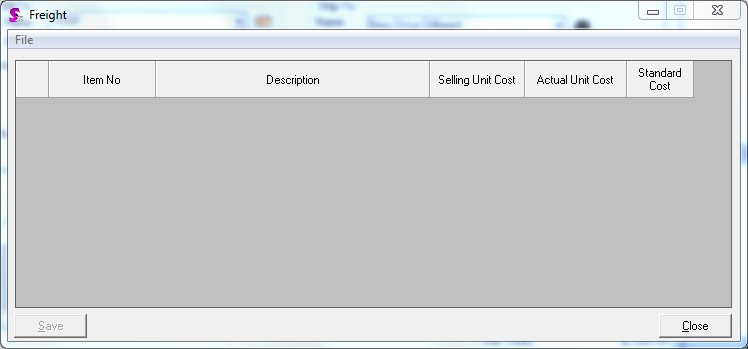
Click in the dark grey section of the Freight Editor and press the Insert key on your keyboard to add a new line. The item number drop down menu will contain all sell items which are assigned to a category identified as a Freight Category. Select the appropriate freight item, enter the Selling Price and Actual Unit Cost. The Actual Unit Cost should be the amount the freight cost your company; this value will be used as the Cost of Goods Sold for the freight item if your account preferences are set to post actual cost. The Standard Cost will be populated automatically based on the freight item's current standard cost.
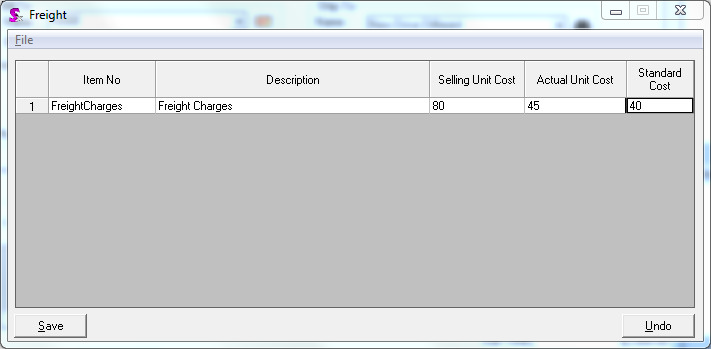
When you are finished click the Save button to save the freight item to the invoice. Once you close the Freight Editor you will see that the freight item has been added to a new line on the invoice.

To edit existing freight items on an invoice, simply open the Freight Editor using the method described above. The Freight Editor will open with the existing freight items and existing costs pre-loaded. Make any changes which are necessary and click the Save button to update the invoice.
|


