|
Adding Tax Authorities
Basic information regarding all of your different sales tax accounts is entered within Tax Authority. This includes, among other things, the tax description, the tax rate, and GL account information.
The first thing that needs to be done is to click the [Add] button located in the bottom left of the form. Doing this will clear any information that is already on the form and prepare it for the entry of new information. Please follow the steps outlined below to enter a new Tax Authority.
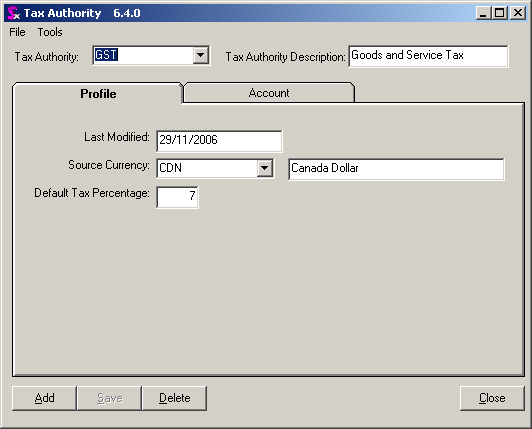
| 1. | Enter a Tax Authority name and description at the top of the form. |
| 2. | Enter the tax rate in the Default Tax Percentage field. |
| 3. | Click on the Account Tab. |
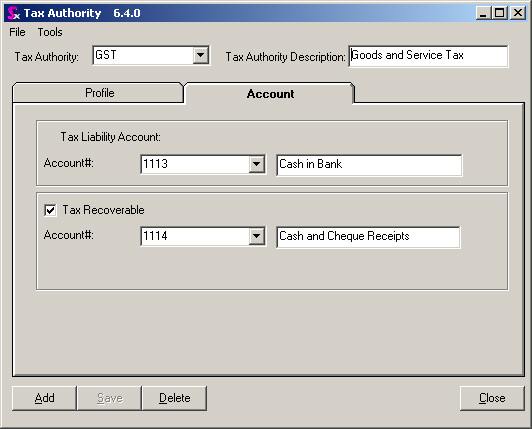
| 4. | Enter a Tax Liability GL account number. |
| 5. | Click on the check box labeled Tax Recoverable, and enter in the proper GL account. (Doing this allows the tax to batch through to your accounting system in respects to Accounts Payable. If this is not filled in, the batch to your Accounts Payable will ignore this specific Tax Authority) |
Once the above steps have been concluded, the Tax Authority can be saved into the system by pressing the [Save] button located in the bottom left corner of the form. At this time the field labeled Last Modified will fill in with the current date. This date will automatically be updated whenever a change is made to the Tax Authority, with the date that the change was made on.
Tax Authority Profile Tab
Tax Authority Account Tab
Editing Existing Tax Authorities
To edit an existing Tax Authority, simply choose the Tax Authority you want from the drop-down menu in the upper left hand corner of the form and then make any changes necessary.
Deleting Tax Authorities
A Tax Authority should not be deleted unless absolutely necessary. The Tax Authority may be part of a Tax Group, which may be attached to many different customers, vendors, or items, and deleting it can affect the manner in which the program operates (i.e. improper taxes being applied to Sales Orders or Purchase Orders). Although this may not be the case, it is always better to try and edit a Tax Authority, rather than deleting it.
Sales Tax Accounts
In order to correctly post taxes the appropriate GL Accounts have to be assigned to each Tax Authority. For further information on taxes setup please refer to the taxes setup portion of this manual. For Each Authority you are presented with the following information.
Tax Liability Account This is your AR Account. Please pick the appropriate GL account that you want this authority to be posted against.
Tax Recoverable This is your AP Account. As with the AR please pick the appropriate GL. account.
Note: PST is posted to the same account as the item it is against in AP. You do not need to specify an account here unless you want to post to that account. To alter the PST posting options for PST please refer to the Accounting Preferences section
Great Plains Tax Authority Setup
Great Plains requires users to setup a separate tax authority for both Sales and Purchasing; however, Seradex does not require this. For Great Plains users you will see the following fields on the Tax Authority Form labeled AR Tax Code and AP Tax Code.
If you fill these values in then upon integration to Great Plains for AR and AP documents the Additional Tax Codes are send to the accounting system as opposed to the Seradex tax authority name. Please note you do not have to use this feature however this makes tax setup in Seradex simpler as you only require one Authority in Seradex as opposed to two. Also this will make your reports clearer in Seradex as the Tax authority that displays on reports is the Code you define at the top of the above form.
|


