|
After OrderStream has been installed on a workstation, user information needs to be added to the database to allow access to the program from that workstation. There are two steps to this procedure. Seradex uses the logon security provided by Active Directory on Windows Servers. It is advisable to match the users and groups in your network logon to your users and groups in OrderStream to simplify system maintenance.
Only the OrderStream Administrator should perform the following function.
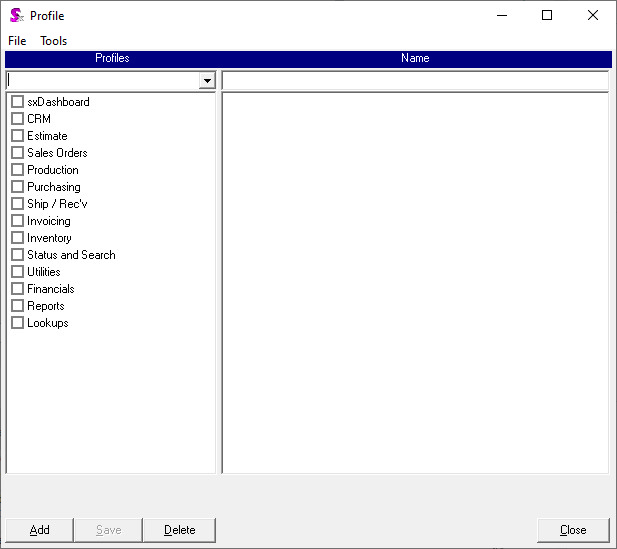
To add new users, go to the Admin Tools menu located on the main OrderStream interface and select Edit Profiles.
The form shown in the following image will load.

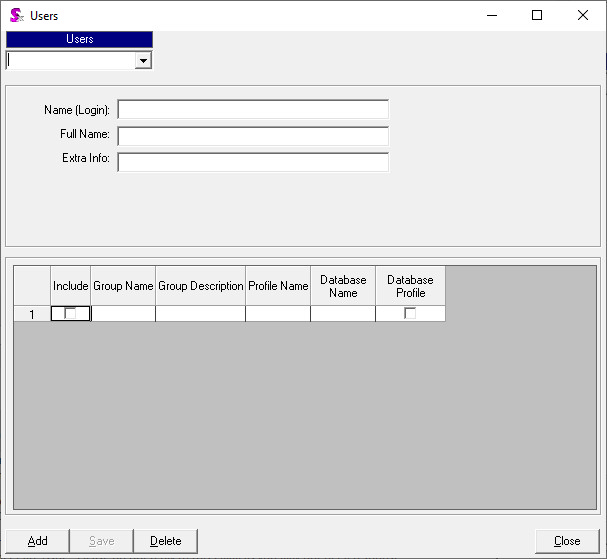
Go to the Tools menu and select Users.
The User Maintenance form will load.

The first thing that needs to be done is to click the [Add] button located in the bottom left of the form. Doing this will clear any information that is already on the form and prepare it for the entry of new information. Follow the steps below to enter in a new user:
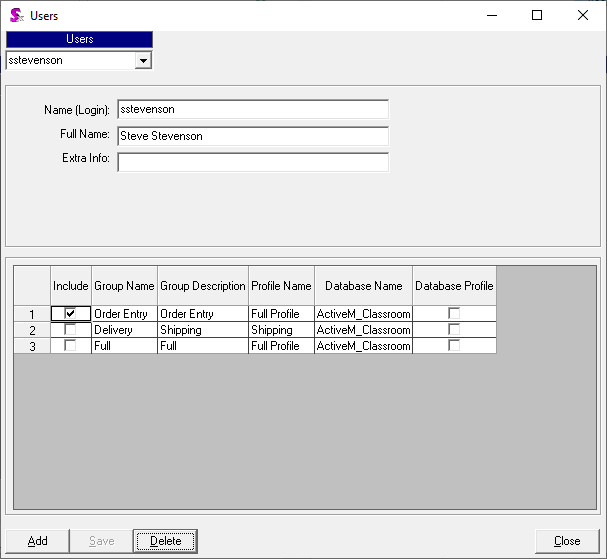
| 1. | In the field labeled ‘Name (Login):’ enter the user’s Windows Login. |
| 2. | Enter the user’s name in the field labeled ‘Full Name:’. |
| 3. | Assign the user to the appropriate Group(s) that are listed in the grid that occupies the lower portion of the form. Check the Include checkbox to assign the user to a group. In the scenario where the user must be assigned to multiple groups for the same database, you must identify the group from which the profile is to be inherited. This is done by checking the Database Profile checkbox for the appropriate Group / Database combination. |

The ‘Extra Info:’ field is optional and therefore nothing needs to be entered there. Once the above steps have been concluded, the user information can be saved into the system by simply pressing the [Save] button located in the bottom left corner of the form.
When you have completed adding the necessary users, close the User Maintenance form then close the Profile Editor form.
|

