|
Adding new Shipping Details
The user can create Packaging details by Sales Order or by Shipment.

This module defaults to creating this information by Sales Order; however, the user can switch to create them by Shipment through the Tools menu.

New packages are added to the Shipping Details by right clicking on the right side of the form to pop-up the Edit menu and selecting to Add the specific package type.

This will add a new package to the root item as illustrated by the image on the left.
Once a package has been added, it can be modified to pick a specific predefined package size, add extra copies of a box, or to customize its size or volume (see image below).
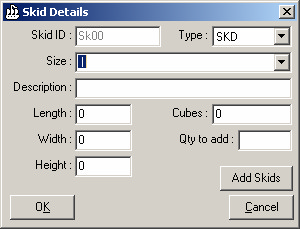
To do so, simply select a package and select modify from the Edit menu.
Items can be added to the packages simply by dragging them onto the desired package. The details of each item can also be altered by selecting the desired item and choosing modify from the Edit menu.
This will display the form shown below.
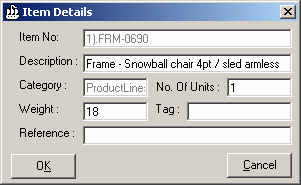
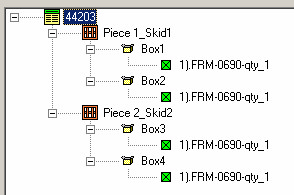
You are able to create multiple container levels simply by dragging and dropping.
For example, in the example shown below, for sales order 44203 there are four items to be shipped, each item is placed inside one box and two boxes are placed on each skid.
Adding and Modifying Additional Items
Child items present on the selected packing slip will be listed in the control on the left hand side of the form. Extra items not present on the selected packing slip can be added to this list via the Add Item button.
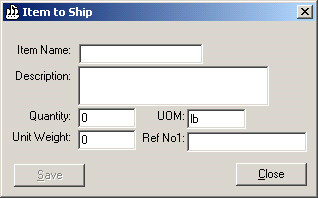
The form illustrated below allows the user to add an item to the list that does not exist anywhere else in the system.
The image below shows what the user see when they press the F2 key to modify the packing details of a regular item in the left hand list. The user can also right click on the item to display this form.
Enter the number of items per package in the Items/Pack field and enter the number of items to pack in the Items Packed field.
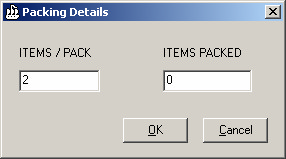
These extra items are shown on the left with blue icons instead of green.

Printing Shipping Labels
When goods are ready to be shipped, print the bar coded shipping labels. One label per primary shipping container will be printed.
For example, if you have packed five items onto one skid, one label will be printed for the skid. The label will list the items which are packed onto the skid.
Designating the Truck to Load (Parking A Truck)
To record which truck the shipped items are to be loaded onto, from the Bar Code Scanner form,
Open the Tools menu and select Park a Truck.

Parking a truck represents a truck that has been cleared for loading and has been parked in a loading bay.
The Park Truck form appears as indicated by the image below.
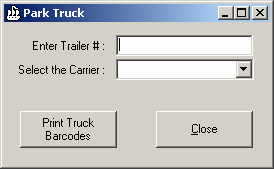
Enter the trailer number into the Trailer # field and select the carrier from the Carrier drop down menu.
When you are finished, click the Print Truck Barcodes button. This will print the bar coded Truck Labels which are used OPEN a truck for loading and CLOSING a truck when loading is complete.
Loading A Truck
When it is time to load the truck, you must OPEN the truck for loading. To do this go to the Tools menu and select Scan Bar Codes.

If you have a truck that was previously opened to load another shipment and you wish to load the current shipment on the same truck, you will be prompted if you wish to reopen the previously opened truck or if you wish to open a new truck.
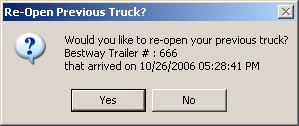
Clicking Yes will reopen the previous truck while clicking No will enable you to either Open or Park a new truck.
For the purpose of this example we will click No to open a new truck via the form shown below.

Scan the OPEN bar code on the Truck Label to open the truck for loading.

The trailer number, the carrier name and the date will populate the form as shown below.
As each item is being loaded onto the truck, scan the shipping label bar code to identify the item as loaded. Scan each of the shipping labels for each item being loaded until all the desired items are loaded.
When all the items for the shipment have been loaded, you will be prompted as displayed below.
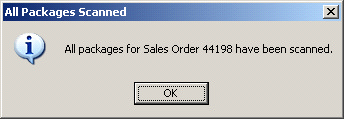
If more shipments are to be loaded onto the same truck, open the shipment in Shipping Details and repeat this process.
If no more shipments are to be loaded onto the current truck, CLOSE the truck by scanning the close bar code on the Truck Label.
You will be prompted if you are sure you wish to close the truck.
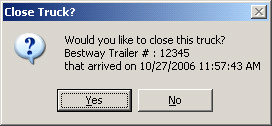
Click Yes to close the truck or click No to keep the truck open.
|

