|
Creating a new Vendor Return
Click the [Add] button located in the bottom left of the form. Doing this will clear any information that is already on the form and prepare it for the entry of new information. The user is now ready to enter in all the necessary information. Please follow the steps below to do this.
Header Section
Select the Purchase Order Number that the return will be done against by using the drop-down menu or the type-ahead feature in the ‘PO No.’ field. Set the ‘Date’ field to match the actual date of shipment. Clicking the down arrow in this field will bring up a calendar that can be used to select the date.
The buyer name will default if their log on name is entered at Employee form in Lookups module.
Main Body Section
All the necessary information in this section will automatically be filled in when the PO number is selected in the header section. Simply ensure that the information is correct.

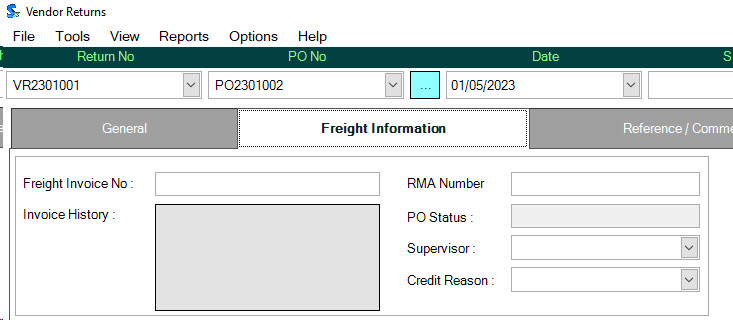
In the additional information tab you can enter the vendor’s RMA number, freight invoice as well as a reference and comment.
Item Details Section
Every line item that was on the chosen PO will now appear in this section. Fill in the quantities to be returned for each one of these line items in the ‘Qty Returned field. If the item is serial or lot tracked the line will have a background color of blue and you must select the appropriate lot/serial numbers using the inventory allocation command button.
Scroll to the right and ensure that the ‘Completed’ field is properly set. If more will be received against that line item the ‘Completed’ field should display ‘No’. If the order is complete the field should be set to ‘Yes’.
If a comment needs to be inserted, continue scrolling to the right and enter it in the ‘Comments’ field
Once the above steps have been concluded, the return can be saved into the system by simply pressing the [Save] button in the bottom left corner of the Form. At this time the return will be saved and a number will be assigned to it that displays in the top left corner of the form. After this has been done, the return then needs to be approved. To do this, simply click on the [Yes] option button found at the far right of the header section.
Impact On Accounting
In regards to accounting, Vendor Returns functions in the exact opposite fashion as Receiving. Debits become credits to remove the value of the received items from the relevant accounts.
|

