|
Adding a New Vendor
The first thing that needs to be done is to click the Add button located in the bottom left of the form. Doing this will clear any information that is already on the form and prepare it for the entry of new information. The user is now ready to enter in all the necessary information. Please follow the steps below to do this.
Please follow the steps below to enter a new vendor:
Required Information:
| • | Enter a vendor number, (in uppercase letters at exactly a length of 6 characters), in the Vendor No. field. |
| • | Enter the vendors name in the field labeled Name. |
| • | Click on Inactive if you want to keep the Vendor in the database but not in the combos in the application |
| • | In the Address section enter the customers address information. In some of the fields a drop-down menu can be used to select from a number of options that are already in the system. |
| • | Enter the Currency Code. If the Currency Code was changed and a Sales Order or Invoice exist the save will be aborted. |
| • | Fill in the Ship Via, FOB, and Terms fields in the Receiving Information section using the drop-down menus. |
| • | Fill in the Tax Group from the drop-down menu. |
Optional Information
All other information is optional and does not need to be filled in. If a comment is required place it in the tab labelled Notes (PO notes appear on the PO whereas the Internal Notes do not). A description of the purpose of some of the optional fields follows below:
| • | Factor: if you know that there are additional costs to the purchase price from the vendor you can add the calculation factor into the factor field. For example, if there is a 5% charge for freight, enter 1.05 into the factor field. The purchase order price of an item order from the vendor will be the item price; however, the cost entered into inventory when the purchase order is received will be the purchase price + the factor. |
| • | Schedule Pref: The frequency the vendor is required to be updated of which purchase orders are due are to be provided to the vendor. For example, updates could be provided daily notifying the vendor of the purchase orders which are due the following day. |
Editing Existing Vendors
To edit an existing Vendor simply choose the Vendor you want from the drop-down menu in the Vendor No. field located in the top right corner of the form.
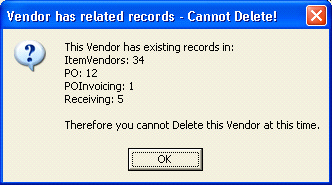
Deleting Vendors
Vendors can be deleted if there are no transactions using that vendor. Any attempt to delete a vendor that has transactions associated to them will result in a message box as shown. At this point, you have the option of setting them as inactive within the system and as such they will not show up in the drop downs for selecting vendors.

|


