|
Adding New Customers
The first thing that needs to be done is to click the [Add] button located in the bottom left of the form. Doing this will clear any information that is already on the form and prepare it for the entry of new information. The user is now ready to enter in all the necessary information. Please follow the steps below to do this.
Follow the steps below to enter in a new customer:
| 1. | Enter a customer number in the Customer No. field. |
| 2. | Enter the customers name in the field labeled Name. |
| 3. | In the Address section enter the customers address information. In some of the fields a drop down menu can be used to select from a number of options, which are already in the system. |
| 4. | Enter the Currency Code, Price List, and Account Set information |
| 5. | Click on the Tax Info tab found on the right side of the form and fill in the Tax Group |
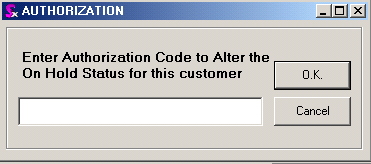
As an option, you can place a customer On Hold with the restriction that an authorization code must be entered to change their On Hold status. If this restriction is activated, the message appears as below.
Everything else on the form such as the Contact information is optional and doesnt need to be filled. However, this information is used throughout the program so it is suggested that you enter as much information as possible
Once the above steps have been concluded, the Customer can be saved into the system by simply pressing the [Save] button in the bottom left corner of the Form.
Editing Existing Customers
To edit an existing Customer simply choose the Customer you want from the drop-down menu in the Customer No. field located in the top right corner of the form.
Customers can be set to InActive if you want them to remain in the database but not appear on Estimating or Sales Order drop downs
Deleting Customers
A customer should not be deleted unless absolutely necessary. It is always better to try and fix a Customer through editing rather than deleting it. If it is imperative that the Customer gets deleted then do so by simply clicking on the Delete button, which is located in the bottom left hand corner of the form. Customers that are associated with transaction cannot be deleted; they may instead be made inactive.
Customer Freight Vendors
Freight vendors can be assigned to a customer directly and/or be assigned to individual customer ship to addresses. In addition, multiple freight vendors can be assigned to a single ship to address; one freight vendor is typically designated as the default or primary freight vendor for the ship to address.
To assign a freight vendor to the currently viewed customer, select the desired freight vendor from the Freight Vendor Info combo. If this combo is empty this means that there are no vendors flagged as freight vendors in your ActiveM database. Enter the freight account number into the text box to the right of the combo.
To assign one or more freight vendors to the currently viewed customer's ship to address(es), click on the ellipses button located beside the freight account text box. The form shown in the image below will open.
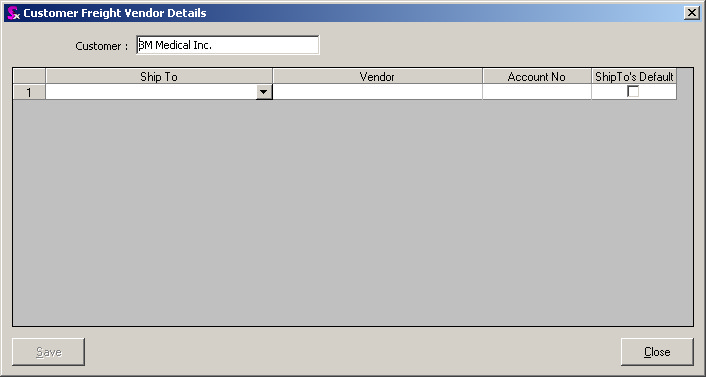
Select the relevant ship to address and freight vendor then enter the account number into the Account No field. If the selected freight vendor is the default freight vendor for this ship to address, check the ShipTo's Default checkbox. In the example below, multiple ship to addresses have been assigned freight vendors and one ship to address has been assigned multiple freight vendors.

How freight vendor information is displayed on the Additional Information tab of the sales order module depends on how the freight vendor is setup against the customer and / or ship to address. The rules of thumb to remember are as follows:
| 1. | If there is a freight vendor assigned to the customer, but not against the selected ship to address the freight vendor assigned to the customer will be displayed. |
| 2. | If there is a default freight vendor assigned to the selected ship to address, this freight vendor will be displayed even if there is a freight vendor assigned to the customer. This adheres to standard system logic where values defined for ship to addresses will prevail over their respective values defined against the customer master. |
Group Customers
OrderStream provides you with the ability of setting up one parent location and multiple satellite locations in order to track sales and bill satellite locations directly.
The following example uses Home Depot to show how this works.
Set up a new account for the parent company as shown below. In this case, Home Depot head office. Note: Take care to select the appropriate Currency Code, Price List, Account Set and Tax Info.
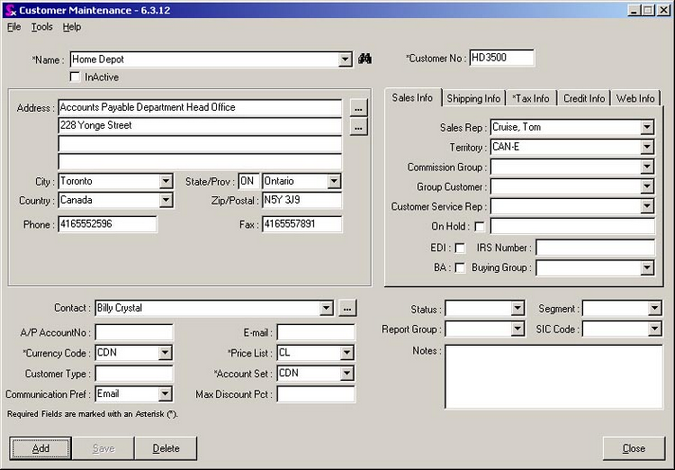
Set up a new account for a local Home Depot Store #501 with the first Home Depot head office account selected in the Group Customer field. Make sure to fill in all of the relevant accounting information as was completed in step one above.

Next create a Sales Order (or Estimate). Notice that Seradex now gives you the option of selecting from two Bill To locations from the combo box.
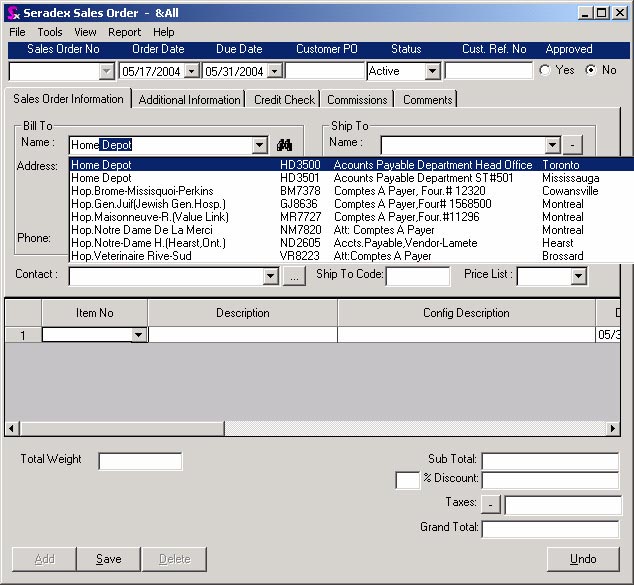
Since the satellite location is now connected to the parent (via the Group Customer field), you can create reports from your accounting system to display sales information for the parent company including all satellite location by month, quarter or year.
|


